USB Condenser Mic Setup for Streaming & Podcasting
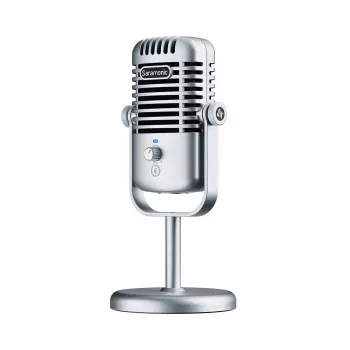
USB Condenser Microphone for Streaming, Podcasting & Studio Recording: Practical Setup and Sound Tips
A USB condenser microphone can deliver clear, detailed voice capture with minimal gear, making it a strong fit for live streams, podcasts, and home studio recording. The key is pairing simple plug-and-play convenience with a clean signal path, correct mic placement, and a few basic settings that prevent distortion and reduce room noise.
What a USB Condenser Microphone Does Best
USB condenser mics are built for clarity—especially on spoken voice. The condenser capsule tends to pick up articulation and “presence,” which helps speech stay intelligible even at lower playback volumes.
- Captures vocal detail and presence for a natural, easy-to-understand sound
- Connects directly to a computer without an external audio interface
- Works well for spoken-word content, voiceovers, interviews, and quick demo recordings
- Pairs easily with common streaming and recording apps via standard USB audio support
If the goal is “clean and consistent voice” without building a rack of gear, USB is often the most direct path to a usable recording chain.
Getting Set Up in Minutes (and Avoiding Common Mistakes)
A clean setup is mostly about removing weak links: unstable USB power, wrong input selection, and gain set too hot.
- Connect the microphone directly to the computer (avoid unpowered USB hubs when possible).
- Select the microphone as the input device in system sound settings and inside the recording/streaming app.
- Set input level so normal speech peaks around -12 dB to -6 dB to preserve headroom and prevent clipping.
- Disable unnecessary input processing at first; add filters only after a clean baseline is confirmed.
- Monitor with headphones to catch hum, clipping, or room echo before going live.
If system input selection is confusing, the OS guides are straightforward: Microsoft Support for Windows audio and Apple Support for Mac input settings. For streaming, the OBS Studio Wiki covers common audio routing and monitoring options.
Placement and Room Sound: The Biggest Quality Upgrade
Mic technique and room control usually improve audio quality more than swapping hardware. Small adjustments dramatically reduce echo, plosives, and harshness.
- Distance: aim for roughly 4–8 inches from your mouth for a full sound; moving farther increases room echo.
- Angle: speak slightly off-axis (about 20–45°) to reduce plosives and breath blasts.
- Pop control: use a pop filter or foam windscreen to soften P and B bursts.
- Reduce reflections: soft furnishings, curtains, rugs, and a small acoustic panel behind the mic can help tame high-frequency splash.
- Reduce mechanical noise: keep the mic away from keyboard and mouse clicks; a boom arm helps position the mic close while keeping it off the desk.
A practical starting point is “close enough to hear your voice, far enough to avoid pops.” Then adjust by ear: if it’s boomy, back off slightly; if it’s roomy, get closer and add soft materials nearby.
Quick Settings for Streaming and Podcasting Apps
Once placement is solid and levels are stable, light processing can make the voice easier to listen to—especially on phones or in noisy environments. Keep changes small, and listen after each adjustment.
- Noise gate: close gently during silence to reduce room noise without cutting the start/end of words.
- Compressor: light compression stabilizes voice level so quiet phrases don’t disappear.
- Limiter: last-stage protection to prevent sudden peaks (laughs, emphasis) from clipping the stream/recording.
- High-pass filter: reduces low rumble from desk vibrations, mic stand thumps, and HVAC.
- Test method: record a 20–30 second sample, then adjust only one setting at a time.
A good habit is to talk through your loudest “real” moments (excited reactions, laughter, strong consonants). If those peaks stay controlled, everything else becomes easier to mix.
USB vs XLR for Home Studio Recording
USB and XLR can both sound excellent, but they prioritize different workflows. USB favors speed and simplicity; XLR favors modular upgrades and hands-on control.
Choosing a Connection Type for Voice Recording
| Need | USB Condenser Microphone | XLR Microphone + Interface |
|---|---|---|
| Fast plug-and-play setup | Excellent | Moderate |
| Portability | High | Lower |
| Upgrade flexibility | Moderate | High |
| Total cost to start | Often lower | Often higher |
| Control over gain and monitoring | App-dependent | Interface controls |
Care, Handling, and Troubleshooting
A Ready-to-Use Option
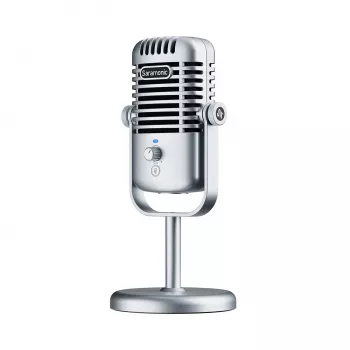
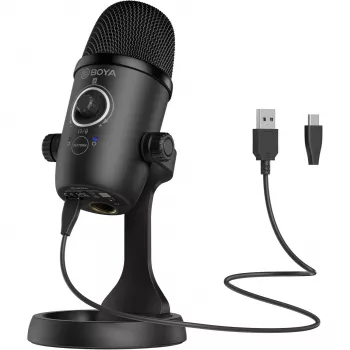
If you want a straightforward path from unboxing to clean voice capture, the USB Condenser Microphone for Streaming, Podcasting & Studio Recording is designed for easy computer connection and clear spoken-word results. Pair it with a pop filter and stable stand/arm, set your levels with headroom, and you’ll be in a strong starting position for streaming or podcast sessions.
Long recording sessions are easier when the rest of the setup feels comfortable and distraction-free. Some creators also like having cozy, low-fuss basics nearby—like the Women’s Color-Blocking Letter Embroidery Oversized Sweatshirt for a warm editing room, and Women’s Sheepskin Mules for quiet, comfortable movement around the workspace.
FAQ
Do USB condenser microphones work with streaming and recording software?
Yes. Most USB condenser microphones are recognized as standard USB audio devices, so streaming and recording apps can use them once they’re selected as the input. After choosing the mic in both your system sound settings and the app, make a quick test recording to confirm levels and monitoring.
How far should a condenser microphone be from the mouth for podcasts?
A typical starting range is about 4–8 inches. Speaking slightly off-axis and using a pop filter helps reduce plosives and harsh breath noise, and you can adjust distance based on how much room echo you hear.
Why does my microphone audio clip or sound distorted?
Clipping is usually caused by input gain set too high, speaking too close, or sudden loud peaks. Lower the gain, keep normal speech peaking around -12 dB to -6 dB, and consider adding a limiter for extra protection while monitoring your levels.













Leave a comment