3D-Printed Carbon Bike Saddle: Comfort at Race Pace
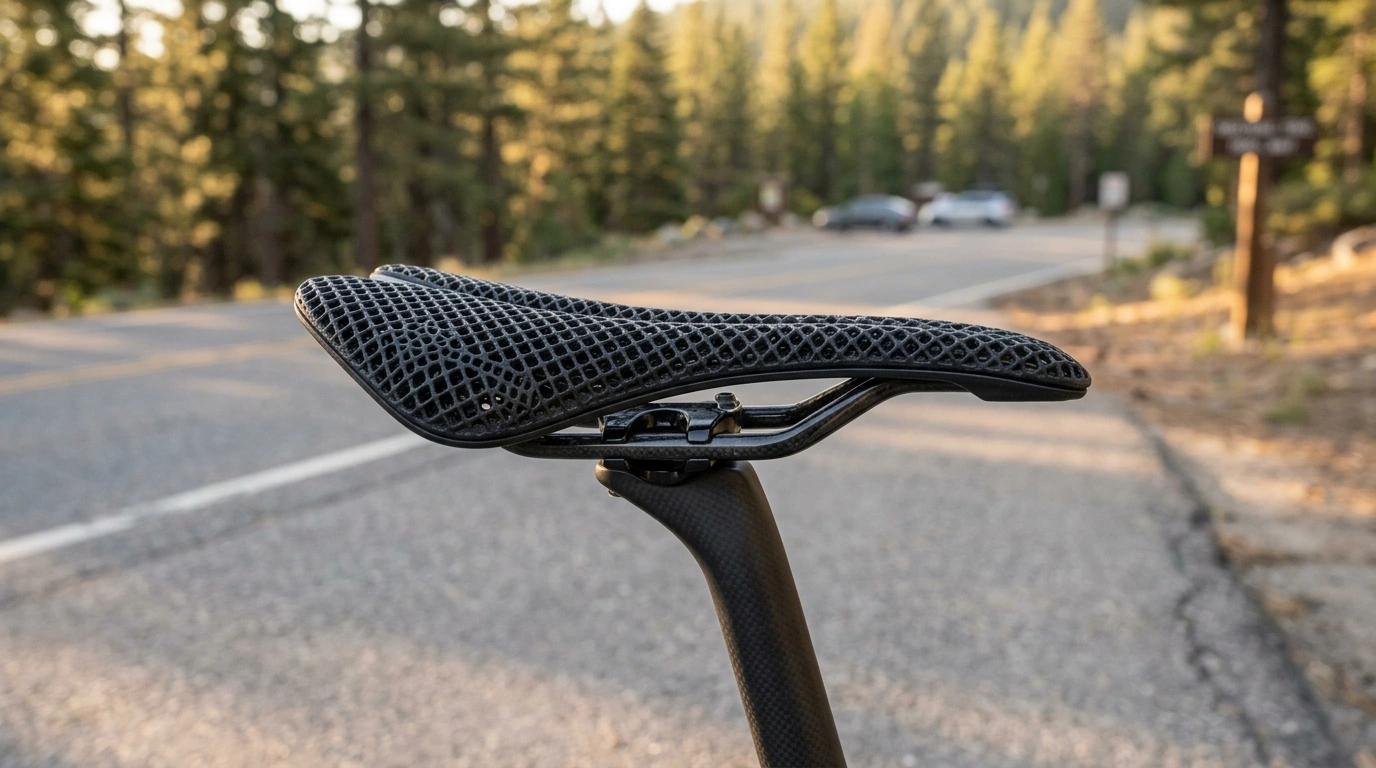
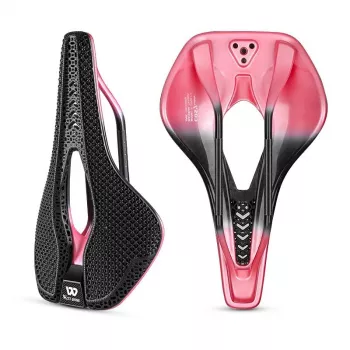
A race-focused saddle can feel fast and supportive without turning long rides into a discomfort test. The Ultralight Carbon 3D Printed Bike Saddle – Painless Road & MTB Racing Seat pairs a rigid carbon foundation with a 3D-printed lattice top to target pressure relief, stable support, and low weight for riders who spend time in aggressive positions on road bikes, XC bikes, and fast trail setups.
What Sets a 3D-Printed Carbon Saddle Apart
Traditional saddles rely on uniform foam density, which can feel “fine” at first and then fall apart as pressure concentrates over time. A 3D-printed lattice changes that by letting the surface compress in a more controlled, zoned way.
- 3D-printed lattice tops can create multiple support zones that compress differently under sit bones vs. soft tissue.
- A carbon base aims to keep power transfer crisp while limiting unwanted flex during hard efforts.
- Open structure can improve breathability and reduce sweaty hotspots on long climbs or indoor sessions.
- Designed for performance positions: steady support when rotated forward on the hoods, drops, or aero extensions.
For riders who feel like they’re always “searching” for the sweet spot, the biggest upgrade is often how predictable the support feels once the saddle angle and fore-aft are dialed.
Comfort That Stays Consistent at Race Pace
Race saddles get a bad reputation when they’re simply too narrow, too flat, or tilted wrong. A firm saddle can still be comfortable when it supports the right anatomy and avoids pinching sensitive areas.
- Pressure relief focus: support under the sit bones while reducing concentrated pressure through the center line.
- Micro-compliance: the lattice can absorb small chatter that typically causes numbness over time.
- Stable platform: less “squirm” than overly soft foam, helping keep hips level during steady cadence.
- Best match for riders who prefer firm support but want a forgiving top surface.
If you’ve ever felt your hips rocking to find relief, that’s often a sign the saddle isn’t supporting the sit bones where they want to load. Zoned lattice support is built to reduce that constant repositioning.
Road vs. MTB Fit: Choosing the Right Feel for Your Riding
Road and MTB riders can use the same saddle successfully, but the “right” feel changes with cadence, terrain, and how much you move around the bike.
- Road racing: prioritize a shape that supports a forward pelvic tilt and avoids inner-thigh rub during high cadence.
- XC/MTB: look for secure edges and a surface that won’t catch shorts when moving behind the saddle on descents.
- Climbing seated: a supportive rear zone can reduce sliding and help maintain a repeatable position.
- If frequent position changes are common, a smooth transition from nose to wings helps reduce friction.
For rougher trail chatter, remember that a stiff carbon base can feel exceptionally efficient but also more “honest” about setup—tire pressure and suspension tuning matter more than ever.
Sizing and Shape: Getting Support in the Right Place
Most saddle “pain” is really saddle mismatch: wrong width, wrong profile, or a position that pushes body weight onto soft tissue. Start with width and then refine the shape for your posture.
- Sit-bone width matters most: a saddle that’s too narrow increases soft-tissue pressure; too wide can cause chafing.
- Riding posture changes fit needs: aggressive positions often pair better with a narrower effective support zone and a supportive nose.
- Short-nose vs. longer profile: short-nose styles can make it easier to rotate forward without excessive nose pressure.
- If numbness is the main issue, consider a profile with a generous relief channel or central cutout-style geometry.
Weight, Stiffness, and Build Quality Considerations
For deeper reading on how position influences comfort, basic setup guidance is well summarized by Sheldon Brown’s saddle position notes. And for an overview of cycling-related numbness and pressure, research summaries can be found through the National Library of Medicine (PMC).
Setup Tips for a “Painless” Ride
Quick Comparison: What to Look For Before Buying
| Item to Confirm | Why It Matters | Simple Check |
|---|---|---|
| Rail type compatibility | Prevents clamp damage and slipping | Confirm seatpost clamp supports the rail shape/material |
| Saddle width vs. sit bones | Controls pressure and numbness | Measure sit-bone width or match a proven width from a previous saddle |
| Relief channel/cutout shape | Reduces soft-tissue compression | Look for pressure reduction where numbness occurs |
| Riding position (upright vs. aggressive) | Determines where support is needed | Match saddle profile to typical hand positions and pelvic tilt |
| Terrain and vibration level | Affects comfort on stiff shells | If riding rough surfaces, pair with tuned tire pressure/suspension |
Care, Durability, and Long-Term Comfort
For riders who travel to events or plan big training weekends, having dependable gear off the bike helps, too. If your race calendar includes overnight trips, consider the Automatic Quick-Open Camping Tent with Sun Protection & Spacious Cabin for a fast setup base camp between rides.
Who This Saddle Suits Best
FAQ
Is a 3D-printed saddle comfortable for long rides?
It can be, because the lattice can create zoned support that holds up your sit bones while reducing concentrated pressure on soft tissue. Comfort on rides over two hours still depends heavily on correct saddle width and a dialed angle.
Will carbon rails fit my seatpost clamp?
Sometimes—check whether your clamp is designed for the rail shape and material (round vs. oval, and carbon-safe hardware). Follow the manufacturer’s torque specs closely and use the correct adapters if your seatpost requires them.
How do I stop numbness after switching to a race saddle?
Start by leveling the main sitting area, then adjust 1–2° as needed and confirm fore-aft so you’re not bracing on the bars. If numbness persists, reassess width and relief-channel shape and consider addressing reach/drop with a professional fit.











Leave a comment